This page shows two example of using of VisibleSim online.
The interface
First load the page http://ceram.pu-pm.univ-fcomte.fr:5015/visiblesim/ in Mozilla firefox or Google Chrome browser.
Enter your login and password to access to the server.
You may use the 'w' key to enter in fullscreen mode, the 'h' key gives some help about the interface.
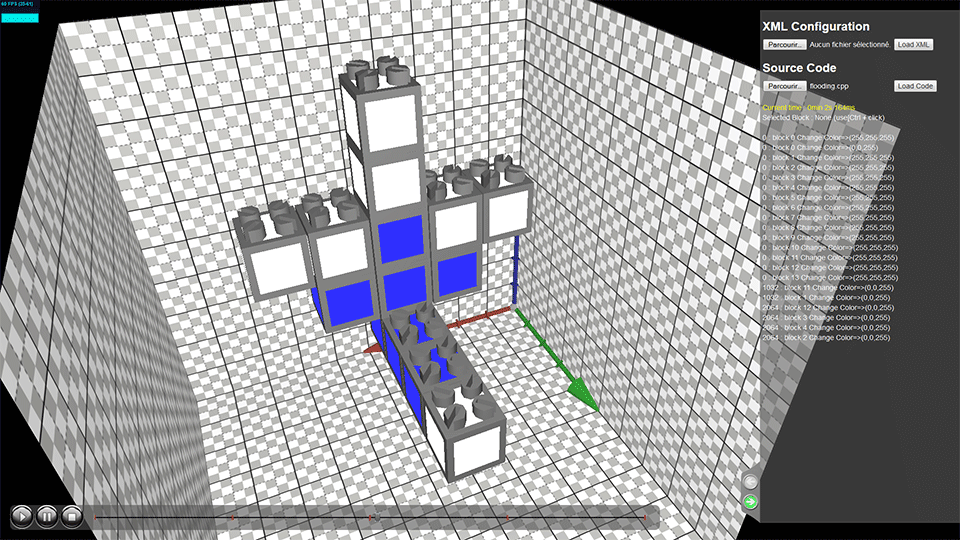
The main part of the window shows the scene with an initial set of blinky blocks. We can observe that blocks may have different initial colour.
The name of the block appears when the mouse pointer roll over a blinky block.
Mouse actions:
- You can turn around the scene using the left button of the mouse (horizontal motions turn the scene arond the z axis while vertical motions allows to verticaly turn the point of view.
- The middle button of the mouse allows to zoom on the scene.
- The right button combined with the motion of the mouse pointer allows to translate the scene.
- click left mouse button in a block using [ctrl] key to select a block, it is blinking. You can unselect a block, selecting another one or clicking in the background of the scene.
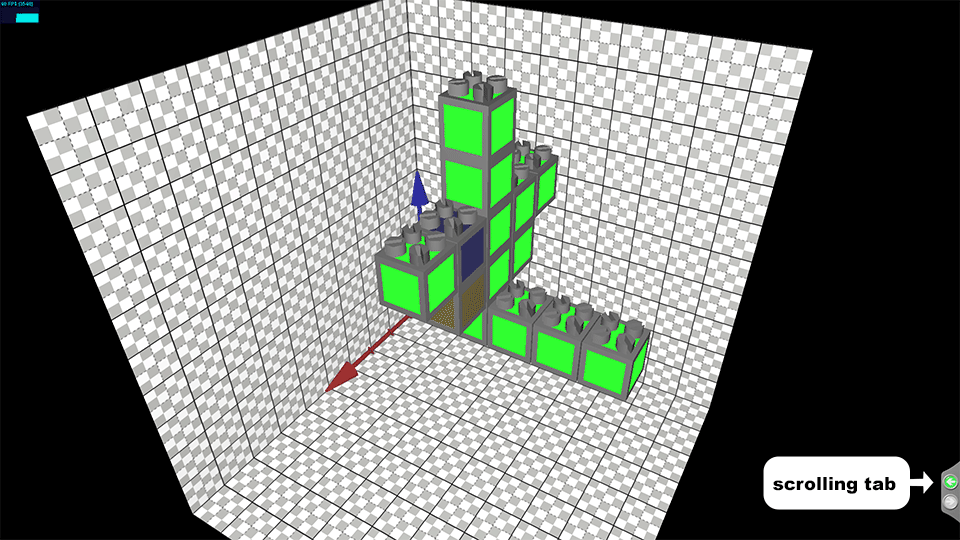
You can open the scrolling tab using the green arrow in the right bottom of the window.
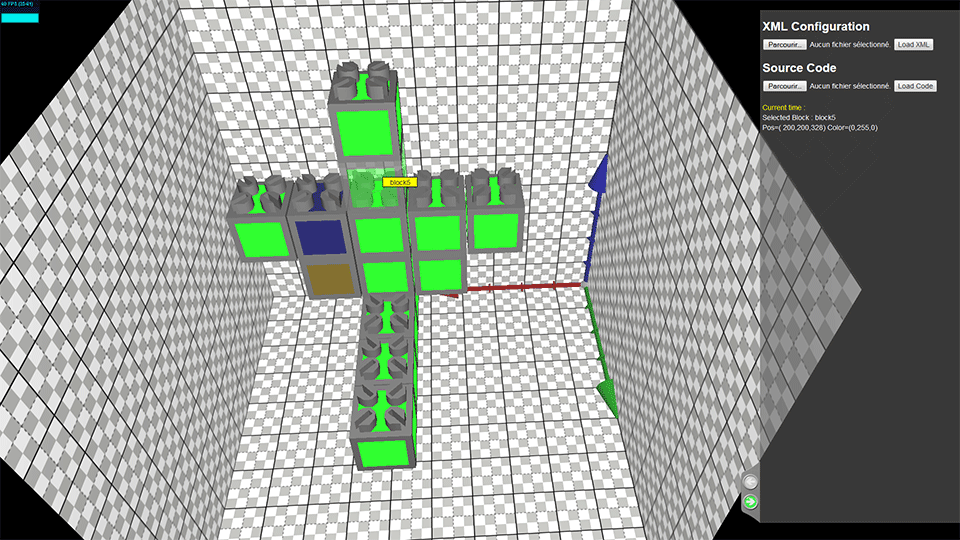
This window shows some information about the selected block (its position and its color). This window will recieve the message of the selected block if one is selected, or the whole list of messages after the running of a simulation.
Running a code block
During a simulation, each block executes the same code, writed in Meld or in C++.
In this first tutorial, we present a simple code in c++ named "flooding.cpp" (download this code in your local disk).
This code has for goal to change the colour of all the block from a 'master block' activation. To do that, the master block sends a message to its direct neighbors, message that is transmitted to the other blocks.
More precisely, this codeblock realises two actions:
- It initialates the state of the block at the beginning of the running. The function startup() initialises the boolean variable called colored to false for every block. Except if the id of the block that runs the code is '1' then colored is set to true, and the block changes its color to blue and sends a message to all its neighbors.
- The function processLocalEvent treats events sent by ather block. When a block recieves a message, if its colored variable is false it set it to true and changes its color to blue.
In order to test the code, click in the 'file selection button' under Source code in the scrolling tab, select your code and then click in the 'load code' button.

The code is compiled on the server and executed (you can re-execute the same code using 'r' key).
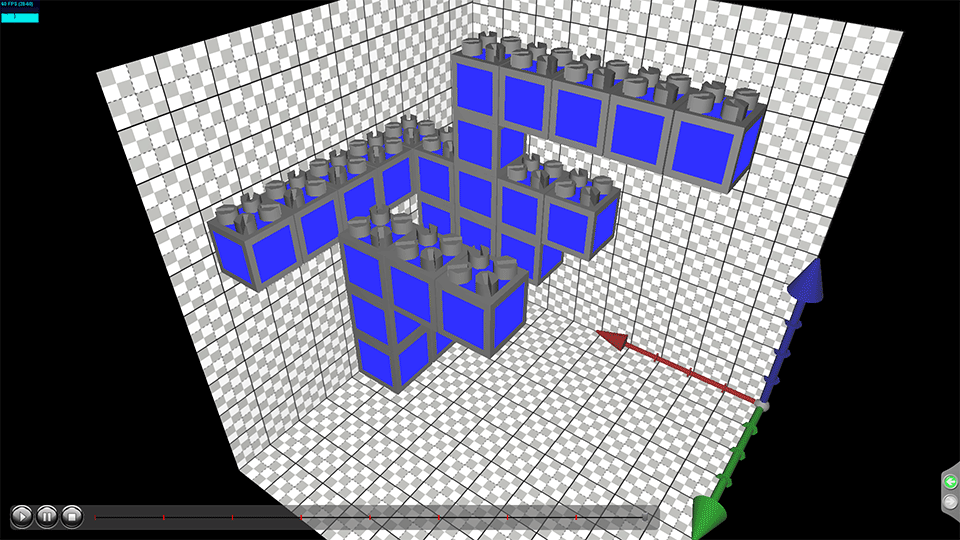
Then you see the color changing during the execution of the code, and the list of events appears in the scrolling tab. You may analyse the steps of the running using the interface at the bottom of the screen:

- Click to the stop button in order to rewind to the beggining, blocks are covered by their initial colours.
- Then click play button to see the running of the programm at the good speed, you can see a cursor that moves left to right during the visualisation. The position of this cursor represents the time of the simulation.
- You can move the cursor to a desired time in the tile line, in order to observe the corresponding state of the set of blocks. Each red vertical segment represents a message, if a block is selected, only the associated information are shown.
Changing the configuration of blocks
You may add, delete blocks using the context menu. This menu appears when you click on a block with the right button combined with [ctrl] key.
- Click to 'Add block' to add a new block connected to the clicked face of an existing block. The new block is automatically connected to all its geometrical neighbours
- Click to 'Delete block' to remove the block.
- Click to 'Save' to see the configuration file and save it locally.
You may test the code in the new configuration using 'r' key.
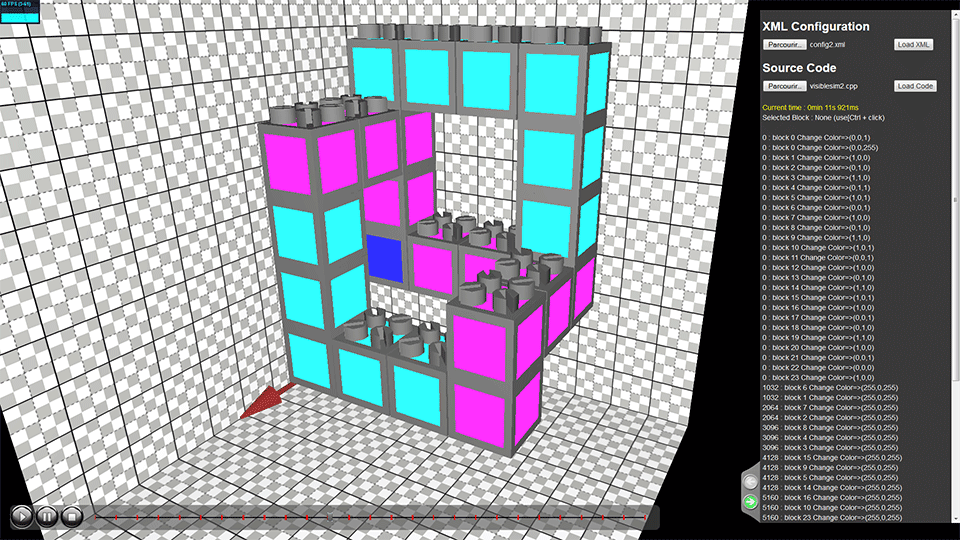
If you need to define a very different configuration you may write a complete xml configuration file and send if to the server using the 'file selection dialog' under XML configuration title in the scrolling tab and then click to the 'load XML' button.
The file 'config1.xml' shows an example of such a configuration file, it contains some information about the scene, the camera, the light and a list of all blocks precising their position on the grid and their initial colour.
To go further
The two following files present another configuration file and a code-block that realise more complexe actions: config2.xml, visiblesim2.cpp.
The goal of this distributed program is to find the block that admits the maximum id and then to set its color to all the other blocks.